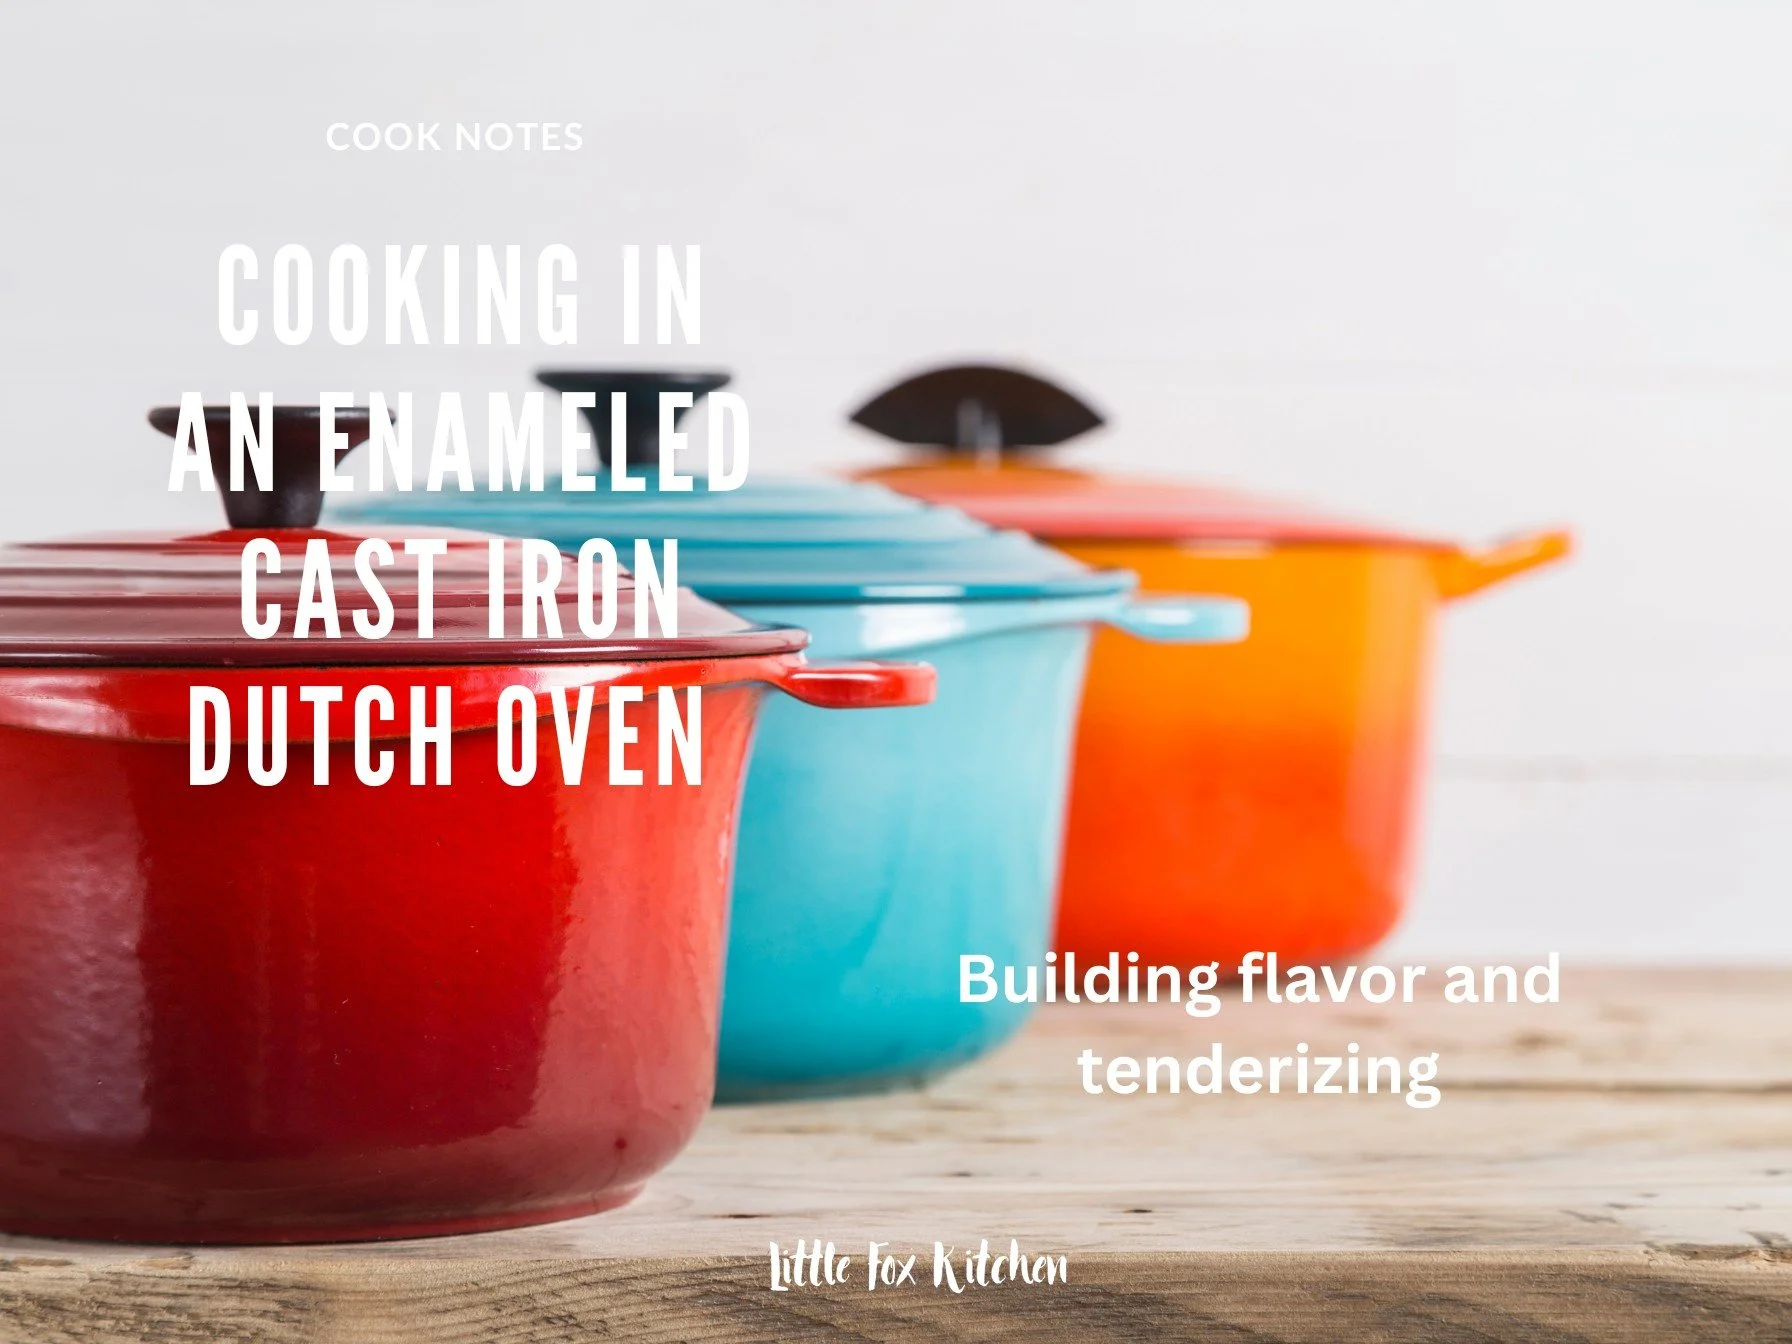
Cooking in an Enameled Cast-Iron Dutch Oven: The How
Last week, we took up a familiar classroom question: Le Creuset or Staub — which Dutch oven should you choose? We laid out the strengths of each and shared our own preference.
Now, let’s assume you have the pot and you’re ready to cook. Here are a few essential tips for getting the most out of your enameled cast-iron Dutch oven.
Building Flavor: Fond and Deglazing
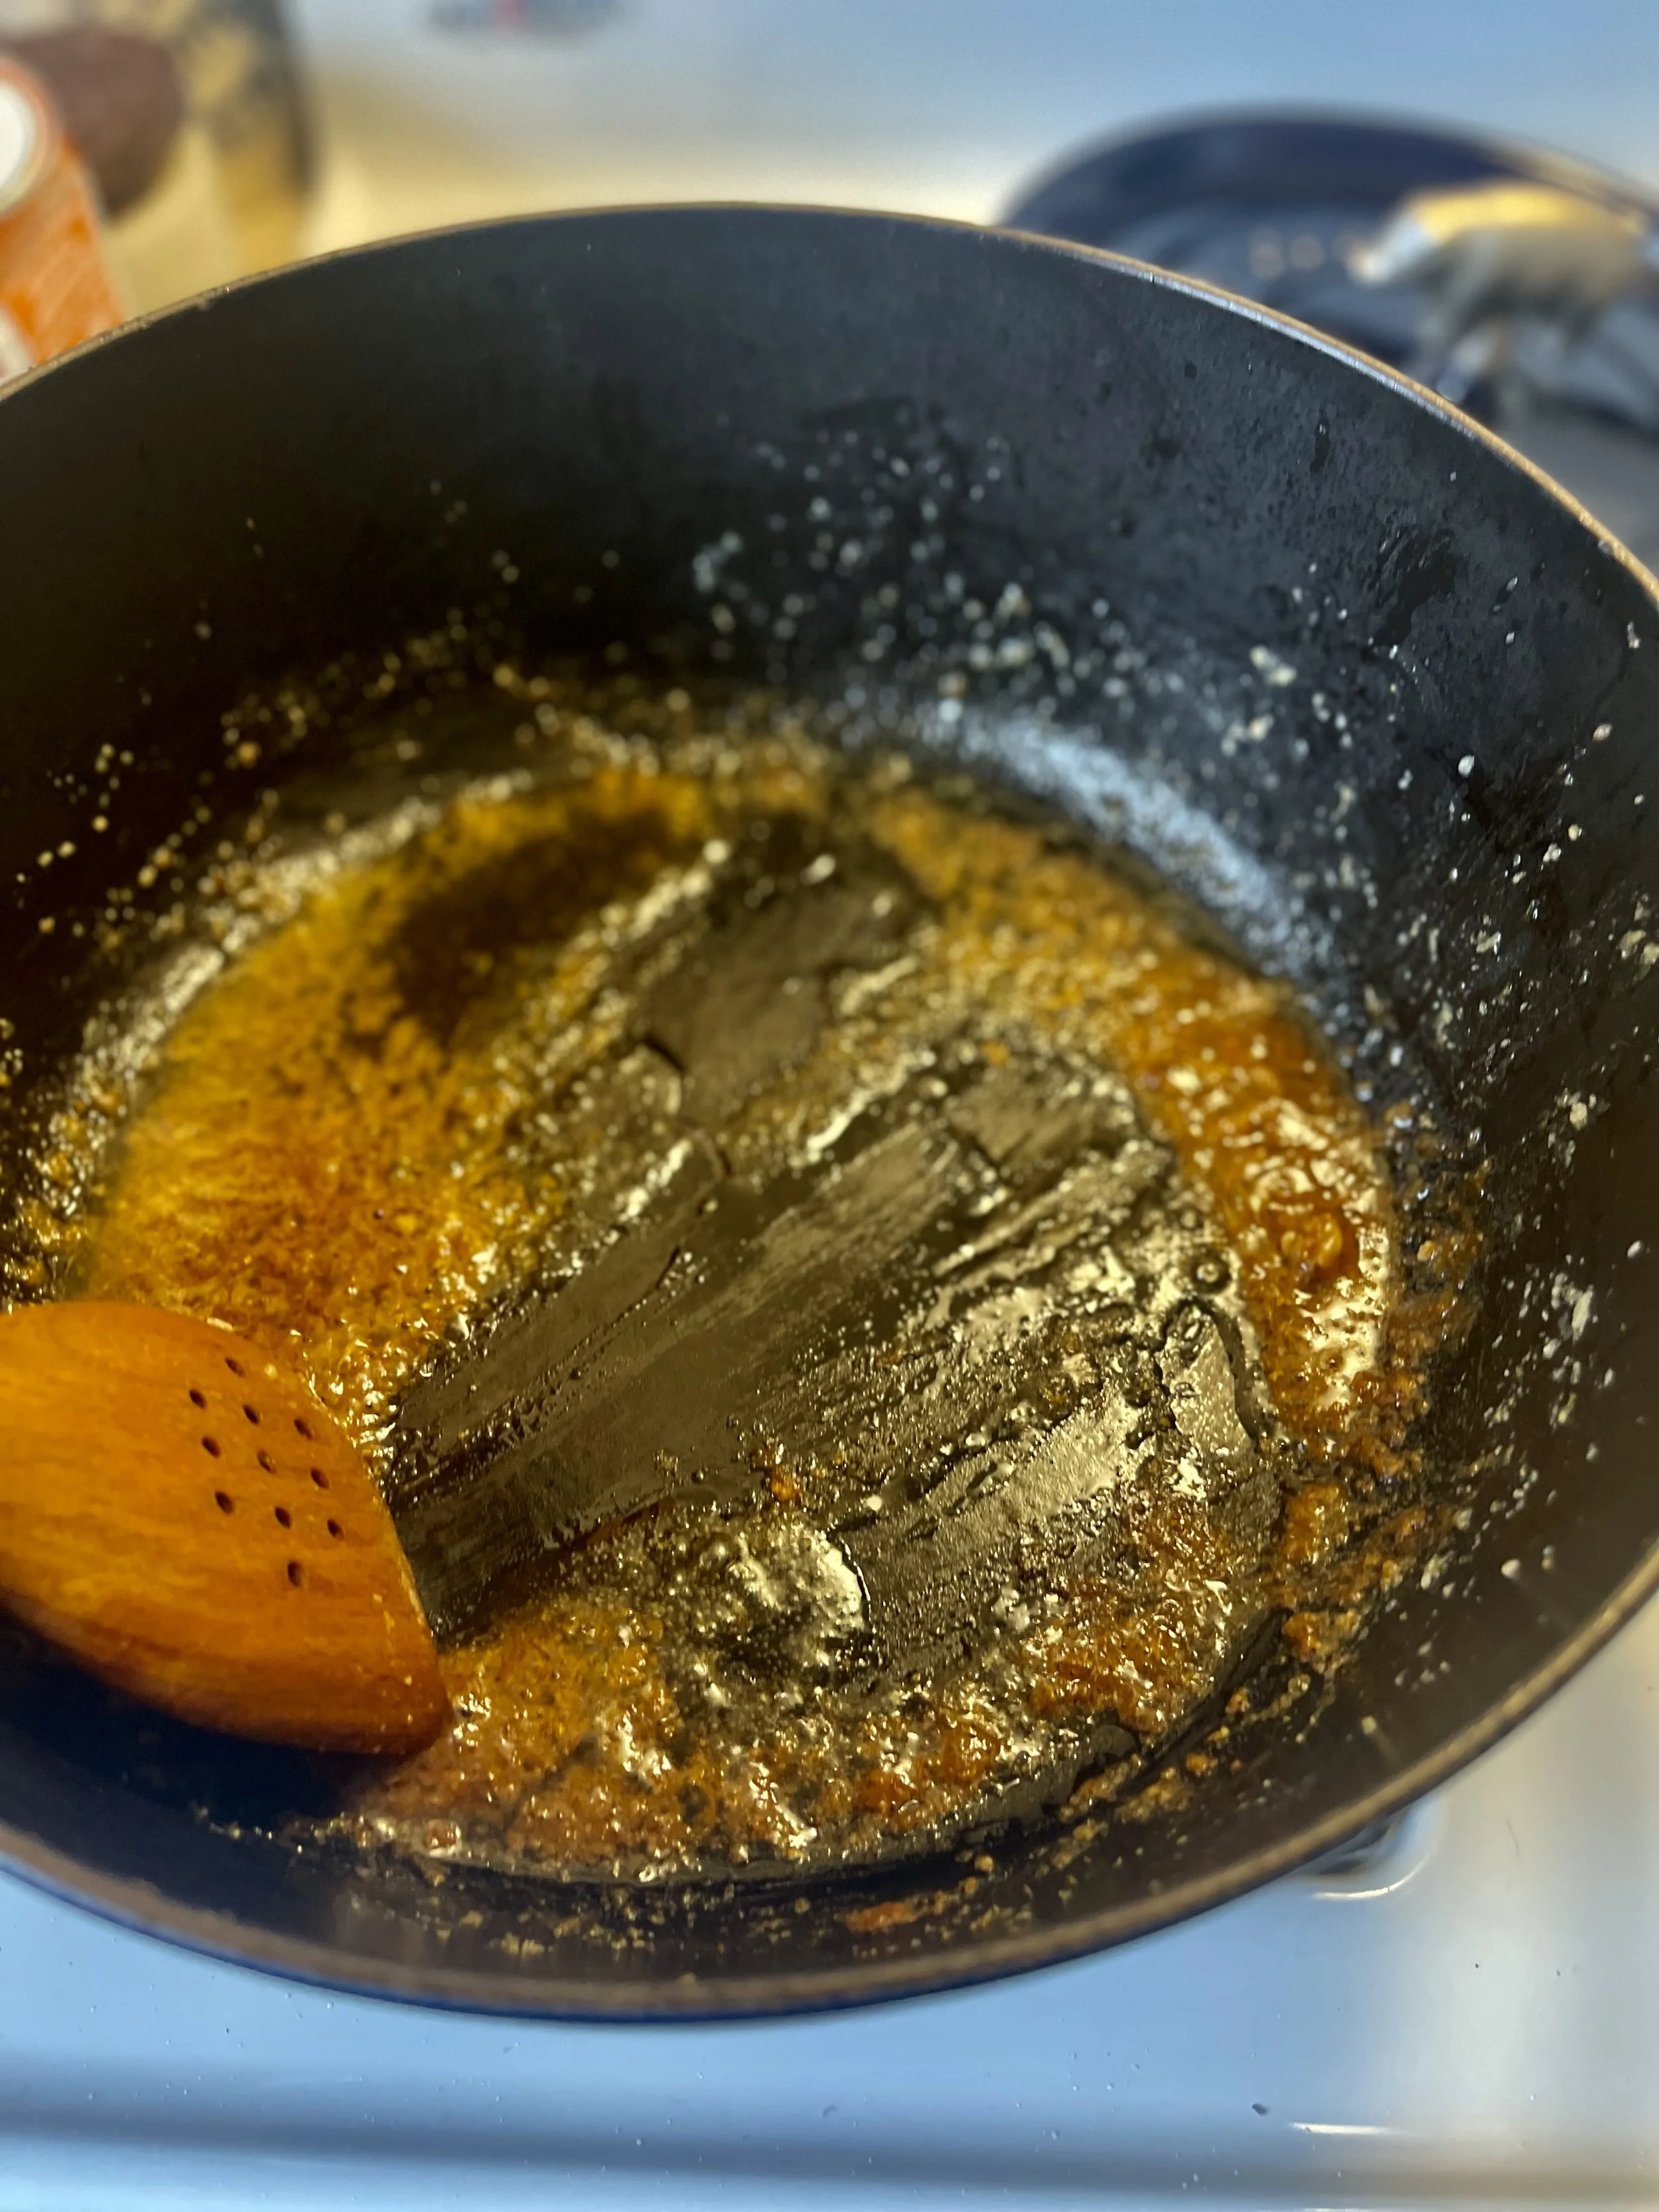
If you’re braising or stewing, nearly every recipe begins the same way: sautéing aromatics like onions and garlic, blooming spices, or searing meat. As heat does its work, moisture evaporates and small, deeply flavorful bits begin to form on the bottom of the pot. As they darken, they create a thin crust known as fond — the natural convergence of proteins and sugars, and the backbone of flavor in slow cooking.
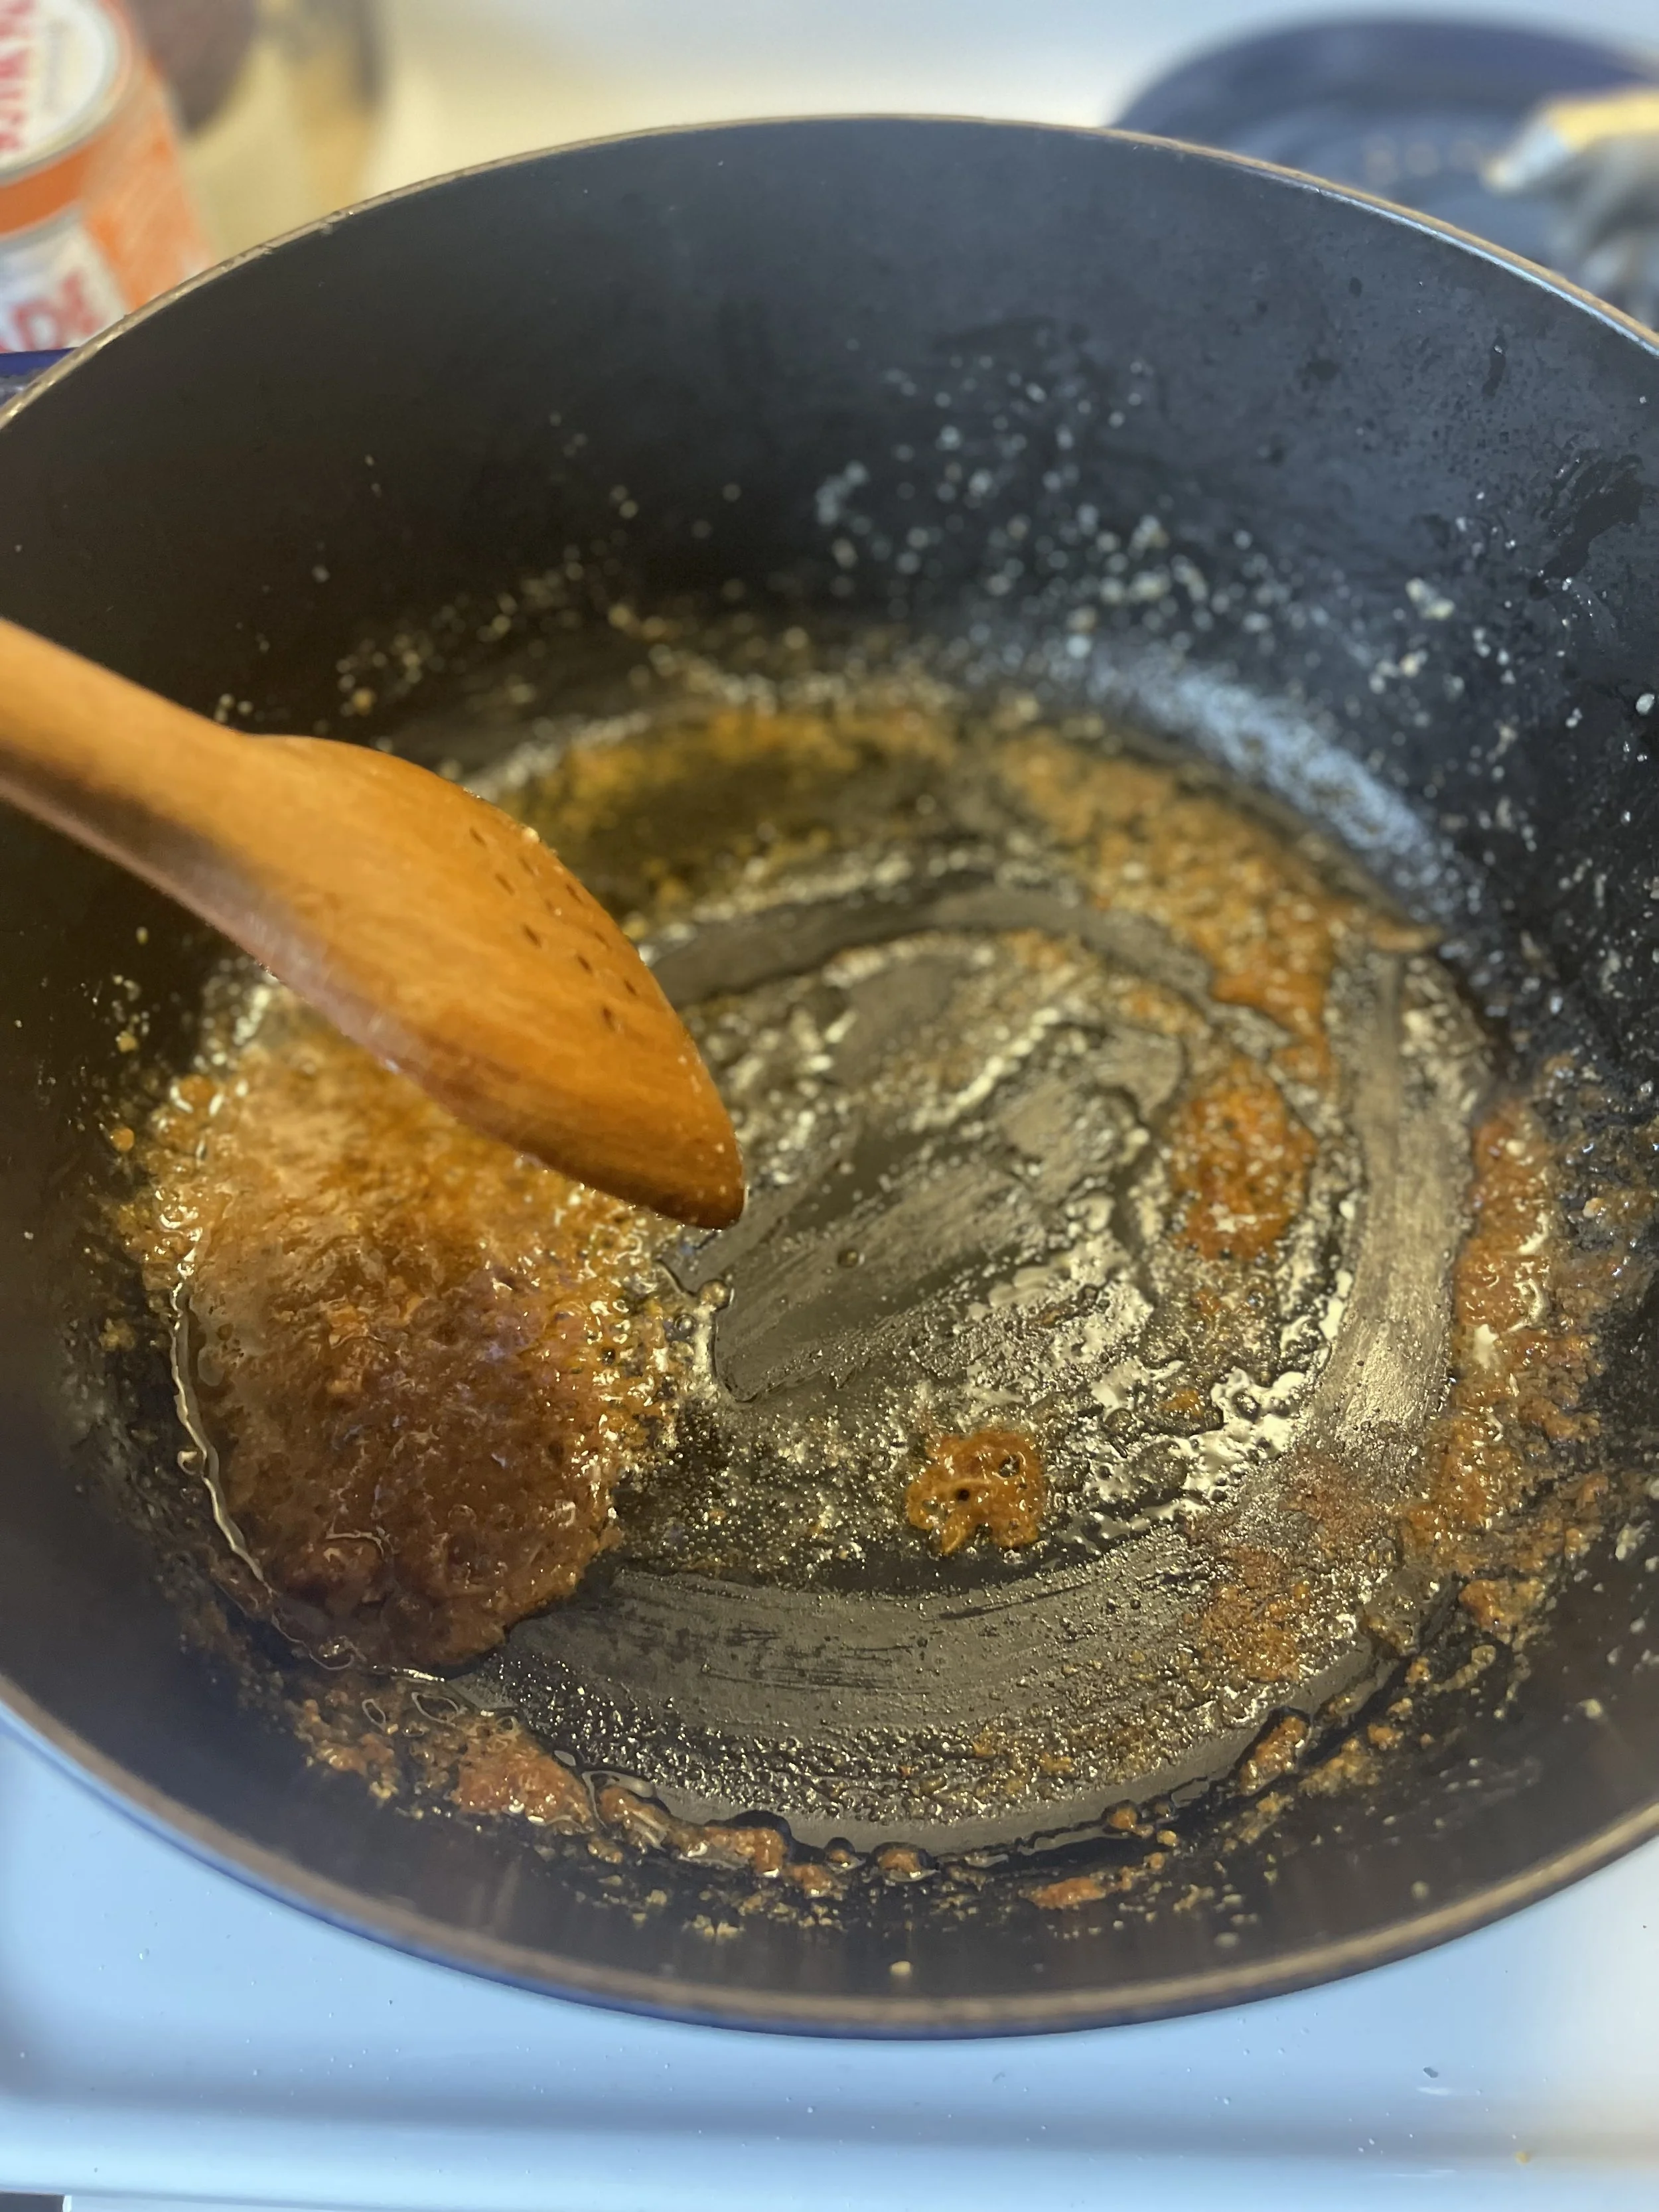
Before moving on, that fond needs to be released and reincorporated. This is done by adding the liquid called for in the recipe — wine, stock, or even water — in small increments, while scraping the bottom of the pot with a wooden or bamboo spoon. This step is what recipes mean when they say deglaze.
Once deglazed, the most important thing to manage is heat. From this point on, it should never be too high.
Stir occasionally, making sure your spoon reaches the bottom of the pot and drags lightly along the surface so nothing catches or scorches.
Tenderizing Meat Properly
If you’re cooking stewing cuts of meat — beef round, chuck, short ribs, and the like — the pot should never boil for more than a minute. This is why recipes so often instruct you to lower the heat as soon as the liquid reaches a boil. Meat that bubbles vigorously will quickly toughen.
Once meat has toughened, it can still soften with extended cooking, but it will require significantly more time and often ends up dry. Gentle heat is key.
Using the Dutch Oven in the Oven
In class, when we’re making a stew, once the pot reaches a boil we transfer the entire covered Dutch oven to a low-temperature oven, around 300°F, and let it cook for one and a half to two hours. The stew simmers gently, and the meat becomes perfectly fork-tender.
When it’s time to thicken the sauce, we remove the meat and set it aside, then reduce the sauce on the stovetop.
Done properly, you’re rewarded with layered flavor — and a pot with no stubborn crust left behind.
Cleaning Your Dutch Oven
If you’ve deglazed properly and stirred occasionally, there shouldn’t be much to clean.
And when things don’t go exactly as planned (it happens): return the pot to the stove, heat it for a minute or less over medium-low heat, and deglaze again with small splashes of water, scraping steadily with a wooden spoon. Listen for the sizzle — that’s the stuck bits letting go. Continue adding water and scraping until the pot is clean.
If you’re dealing with a truly stubborn, scorched crust, you can sprinkle a small amount of baking soda into the pot, warm it gently, and then deglaze with water.
It’s best to skip abrasive powders or strong metal-cleaning products, as they can gradually dull the enamel’s luster and patina over time.
We recommend hand-washing your enameled cast-iron cookware and letting it air-dry.
“A Dutch oven rewards the cook who gives it time.”